I admit that I have been guilty of a lot of accessibility bad practices in the past, both as a freelancer and while working for agencies. Being a designer who has worked in various quick-turnaround environments that cared very little for user experience, let alone the needs of the disabled, I found myself designing and building trendy-looking websites that were accessibility nightmares.
I also inherited and oversaw websites that were built in WordPress using third-party page builders such as Divi, Beaver Builder and Elementor. Page builders, from what I’ve learned, can have mixed results in generating markup, primarily because they leave whatever available accessibility enhancements up to the user to find or figure out. Their users tend to be people who can’t, or don’t want to, write custom markup. They are most likely not web designers by trade, therefore expect the software to take care of all user experience and accessibility issues for them.
While page builders do not offer any built-in ways to improve the accessibility of their platforms, there is a plugin that helps improve the overall accessibility of any website built using WordPress. Some vendors, such as Beaver Builder, offer advice in their documentation on how to add extra accessibility to websites built using their platform. Still, the vast majority of what needs to be done to create an accessible website is put on the user.
Using what I have learned so far about accessibility practices, I want to explore ways to add accessibility to websites I built using page builders. Since the page builder software is proprietary, and it is up to the vendor to follow best coding practices, there are some facets of accessibility that I don’t have any control over. But adding small bits of accessibility where I can will help give greater access and increase usability for everyone.
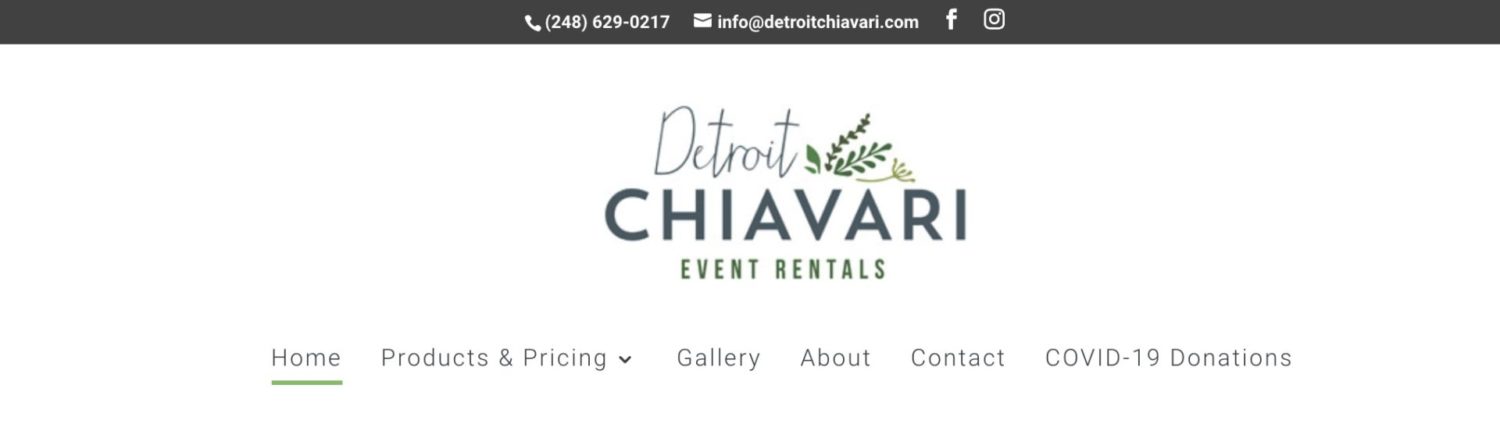
I am going to run through the home page of a past client using the Divi WordPress page builder. By doing a simple automated test using the ARC Toolkit and using Apple’s VoiceOver on macOS as my screen reader, I will focus on a subset of issues that arise from the test and then demonstrate how I solved the problem.
Though I am using a specific page builder that is designed for WordPress, there will likely be options and guidance in all popular publishing platforms – such as Wix and SquareSpace, to improve the accessibility of our designs. Through auditing our own websites using a screen reader and automated testing, we can make our designs more inclusive.
Results After the Scan
After the initial scan, I found a handful of instances that fail WCAG 2.1, 2.4.4. Link Purpose (In Context). This means that there are links that lack any sort of text that describes what they are or gives any context to where they would link to. This can be highly problematic for users of assistive technologies such as screen readers. Depending on the circumstance, there can be simple built-in ways to fix this problem, such as adding alternative text to images that have links. There are also less-straightforward ways to fix this problem that require a little bit of coding. I will explore both types of scenarios below.
Adding Link Text to Image Thumbnails Using Alt Text
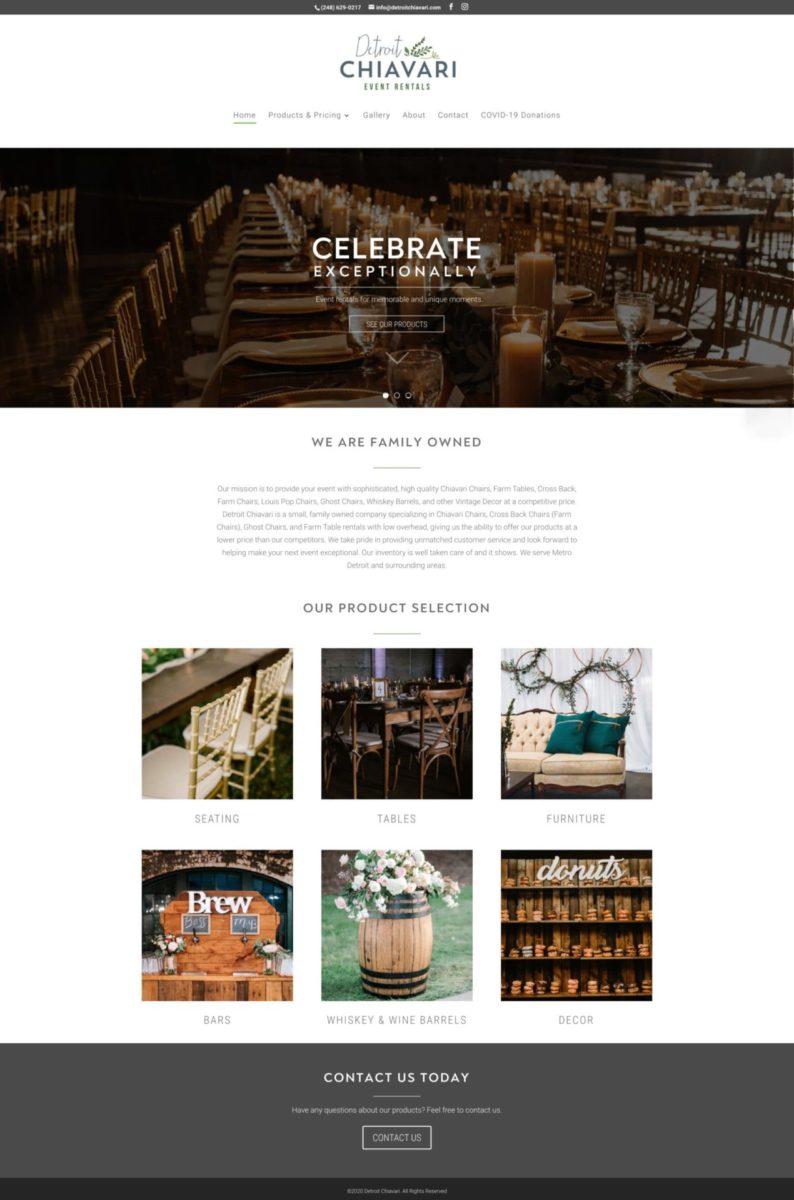
One of the goals for this website was to have the company’s product categories laid out on the home page for easy access using image thumbnails and text. This was accomplished by using Divi’s drag-and-drop image modules and adding text below each image. The photos and the text are then linked to each respective category.
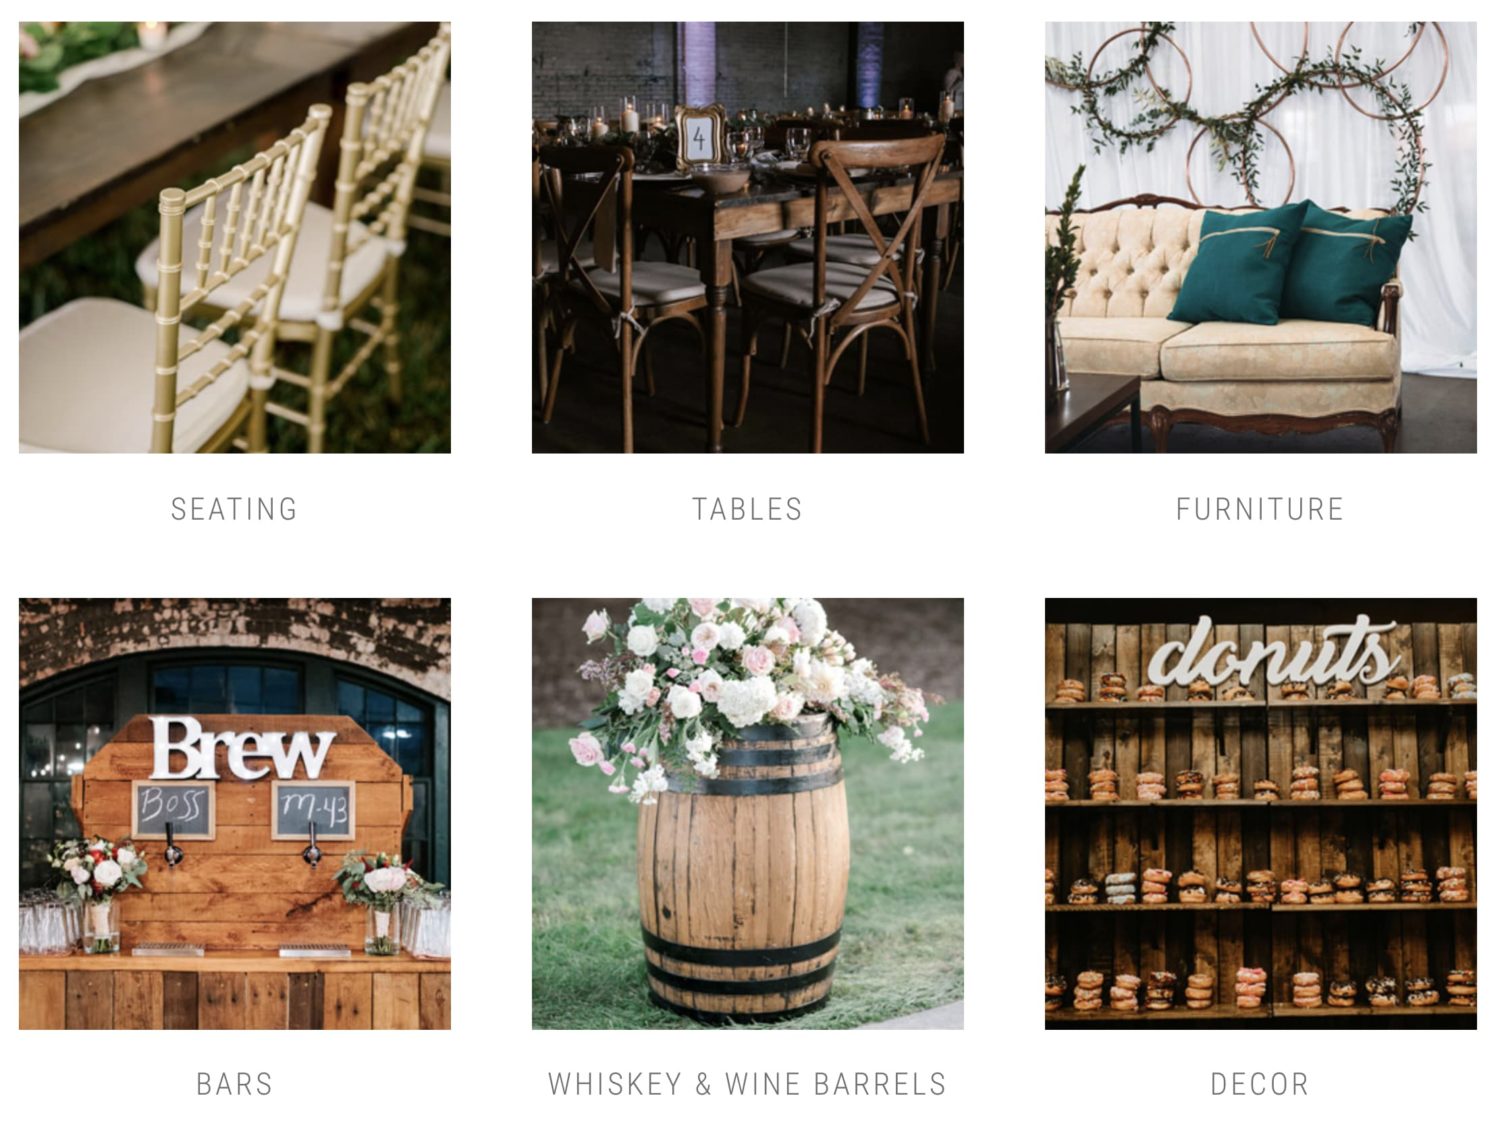
The approach used to build out this design presents one drawback – the image and category titles have their own separate links. Having two separate links to a single page can cause redundancy for screen reader users. Ideally, we would want the link to surround the image and the category title with the image set to have empty alt text. However, since the target user base of drag and drop builders tends to prefer the ease of dragging and dropping overwriting custom markup, this is most likely a common scenario that is hard to avoid. In hindsight, I could have also used Divi’s Blog Module to generate a category loop that creates the same design, but the Blog Module also generates two separate links.
When testing this design using VoiceOver and my keyboard, I found that each image was read as “visited, link, image”. In other words, the screen reader was not stating the name of the category when reading the image.
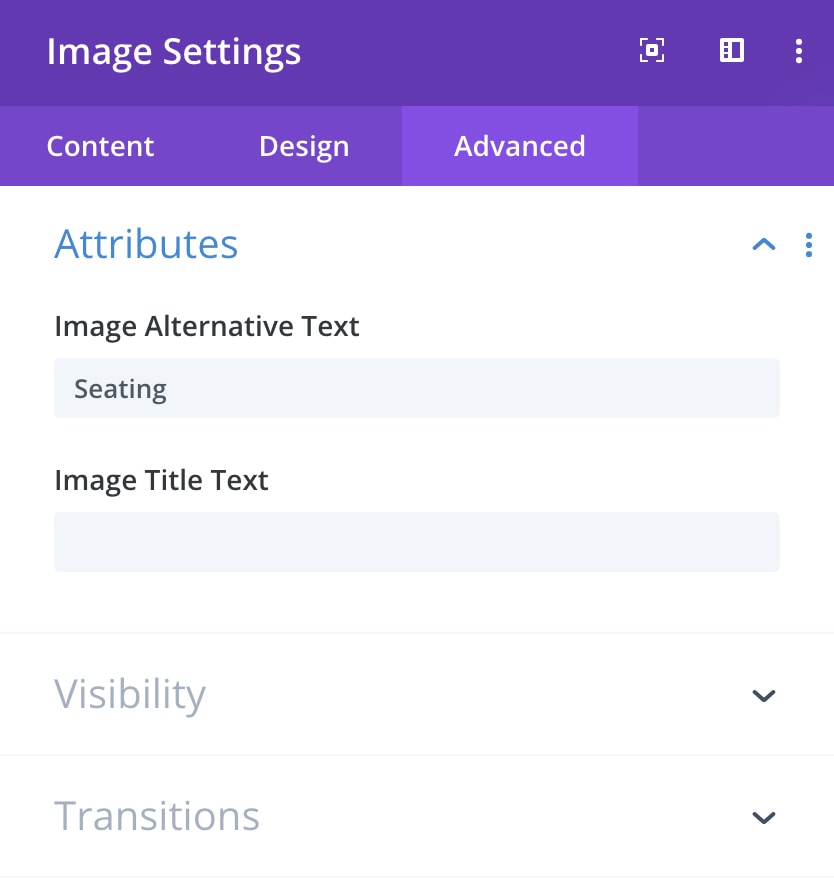
- In the Image Settings, click on the Advanced tab
- Add the name of the category to the image’s Image Alternative Text Field under Attributes.
- Save the image by clicking the check mark.
Adding Link Text to Divi’s Social Icons
Since there is no supporting text next to each icon that says “Facebook” or “Instagram” that a screen reader can use to define what the link means, we are presented with the same dilemma that we had with the thumbnail images. We want the icons alone to read back the names of their respective social media channels. However, unlike the image modules that have a built-in way of solving this problem, the social icons in the top navigation do not. The icons are added via the theme options on the back end with no predefined way to add link text. This meant that I had to dig into the code to solve this problem.
I accomplished this by duplicating the social icons includes file from the Divi theme into my child theme folder so that I could add link text to the code. Here is how I did it:
- Log into your FTP client and find the social_icons.php file located in wp-content > themes > Divi > includes
- Download the social_icons.php file
- Go into your Divi-child theme and create a folder called Includes.
- Open up the social_icons.php file in your preferred text editor
- Within all of the instances of social icon code blocks, insert descriptive link text inside of
<p>tags using the class “visually-hidden”. In this case, my link text reads “Find us on Facebook” and “Find us on Instagram”.
You might be wondering why the hidden text is applied with a <p> element when it is not truly a paragraph. In an ideal world, we would have opted for a generic <span> element, but this clashes with existing theme styles that are targeted at the <span> for the icon, hence opting for the <p>.
<ul class="et-social-icons">
<?php if ( 'on' === et_get_option( 'divi_show_facebook_icon', 'on' ) ) : ?>
  <li class="et-social-icon et-social-facebook">
    <a href="<?php echo esc_url( et_get_option( 'divi_facebook_url', '#' ) ); ?>" class="icon">
      <p class="visually-hidden">Find us on Facebook</p>
      <span><?php esc_html_e( 'Facebook', 'Divi' ); ?></span>
    </a>
  </li>
<?php endif; ?>
<?php if ( 'on' === et_get_option( 'divi_show_instagram_icon', $et_instagram_default ) ) : ?>
  <li class="et-social-icon et-social-instagram">
    <a href="<?php echo esc_url( et_get_option( 'divi_instagram_url', '#' ) ); ?>" class="icon">
      <p class="visually-hidden">Find us on Instagram</p>
      <span><?php esc_html_e( 'Instagram', 'Divi' ); ?></span>
    </a>
  </li>
  ...
<?php endif; ?>
</ul>- Insert this code block into Divi’s Custom CSS module (or whatever tool you are using to implement custom CSS).
.visually-hidden { position: absolute !important; clip: rect(1px 1px 1px 1px); /* IE6, IE7 */ clip: rect(1px, 1px, 1px, 1px); padding:0 !important; border:0 !important; height: 1px !important; width: 1px !important; overflow: hidden; white-space: nowrap; } - Save your CSS and upload the social_icons.php file to your web host.
Small bits of accessibility can go a long way
Publishing platforms, along with page builders, have helped proliferate web design by giving people who are not native coders the ability to create custom websites. The companies who create these platforms tend to offer advice on how to make websites more accessible and even offer plugins to help with it. However, the general population who uses them to build websites usually do not code and are not aware of the idea of web accessibility. As my accessibility journey continues and I learn more, I am figuring out new ways to make the publishing platforms that I use more accessible. Any small accessibility improvements we can make to our websites will go a long way toward inclusivity and will help benefit all users. No matter what publishing platform you are using, there are always ways to make your designs more accessible by exploring the platform’s options and their documentation.